Create an In-Person Campaign on Donorbox
Go to the Fundraise drop-down, and select In-Person Campaigns.

- Click + Create New Campaign to create a new In-Person Campaign for your giving kiosk.

Set your In-Person Campaign details
Next, head to the General Settings tab to name your campaign, select the currency (choose from 13 options), and set your default language.
Default Language is the language the donor view will be in when donors walk up to your kiosk.
Donors still have the option to change to their preferred language.
Set suggested ask amounts for your campaign. We recommend adding four suggested amounts, but you can choose how many are right for your organization. Donors can still enter in a custom gift amount.
You can also include a minimum or maximum donation amount, or omit custom donations entirely.
Select Your Donation Intervals
Next, select your preferred donation intervals. Add up to four different giving intervals from the eight options available to appeal to different donor preferences.
- In addition to one-time donations, you can also include recurring donation intervals to drive ongoing support for your cause – like weekly, 1st and 15th, and monthly.
- Let donors know how they can have the biggest impact on your cause by indicating your recommended interval, which will appear with a tiny “heart” icon on your campaign.
Note: Donors will not be able to make a recurring donation while your device is offline. To accept recurring donations, ensure your device is connected to the internet.
Ask Donors to Cover Fees
You have the option to ask donors to cover processing fees for their donations. When this is selected, donors are given the choice to cover your fees for their gift.

By enabling this option, donors can ensure more of their gift goes directly to your cause.
U.K. Gift Aid
If your organization is based in the U.K., you can allow your donors to claim from the U.K. Gift Aid – which allocates an extra 25% on top of every qualifying donation received towards your organization at no extra cost to you.

Customize your In-Person Campaign
You have the option to make your Donorbox Live™ Kiosk experience match your organization’s messaging and branding.
Content customization
In the Content tab, customize the headline and description text that appears on your welcome screen. This is the first screen donors will see when walking up to your kiosk.
We recommend using this text as your call to action to give.
Use language that will tell your audience exactly what you want them to do – donate and share the impact their gift will have to encourage more donations to your cause!
-
You can also set your default – or static – language in this tab. This is the language the donor view will be in.
Note: Donors will have the option to change between 17 languages with a single tap on the welcome screen, no matter which default language you choose – unless you customize your messaging. Translations are disabled with custom messaging, but you may still choose a default language.

Design customization
-
Navigate to the Design tab, where you can customize the look and feel of your giving kiosk’s screen.
-
Select a main color (we recommend using your primary brand color). This will change the color of your suggested ask amount buttons as well as add a tint to the screen.
-
Upload your logo in standard image formats such as PNG, JPEG, or GIF – a PNG with a transparent background is ideal.
-
Personalizing these options to suit your brand identity optimizes the giving experience for your donors.
Customization preview
-
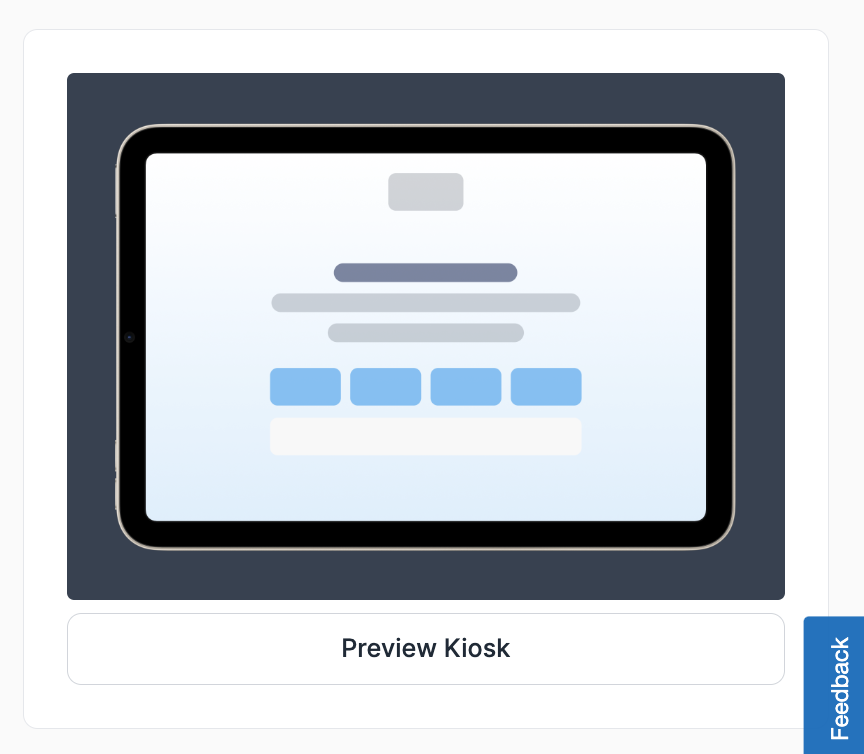
Click Preview Kiosk in either tab when you’re ready.
- Example: Your logo will replace the Donorbox Live ™ logo on your giving kiosk.

Customize your donor receipts
-
Go to User Receipts to customize the receipt template used to send receipts to your donors. Use this feature to showcase your gratitude and ensure your receipts match your brand’s tone and messaging.
-
You can add variables and images, and personalize the look of your receipts within the rich text editor.
Mailing List
-
Go to Mailing List to enable the option to ask donors to subscribe to your mailing list via your donation kiosk.
This is great for driving engagement and collecting valuable donor information for future outreach and campaigns. You can also choose to subscribe your donors by default.
Add a QR Code
-
Go to Campaign QR Code to add a campaign QR code of your choice to display on the home screen of the donor view in the app.

- To add a QR code, check the box for “Enable QR Code,” then choose from the options shown.
-
You can select a Donorbox-hosted page by selecting Hosted Page and choosing one of your Donorbox fundraising campaigns in the drop-down.
-
This enables you to direct giving kiosk donors to an online campaign that features additional options such as recurring giving, tribute gifts, designated funds, and more.
-
-
Add a QR code to any page you wish, such as a newsletter sign-up form to encourage sign-ups for your email list or a YouTube video showing the impact a donor’s gift will have.
-
Select Custom Page and add the correct URL.
-
-
Whichever option you choose, remember to add a short description in QR Code Description Text.
-
This tells users what they will find when they follow the QR code.
Add donation designations
-
Donation designations allow your donors to choose what they want their gifts to be allocated toward.
-
Navigate to Donation Designations and enable the option to add designation labels to your donation kiosk.
-
To make it mandatory for donors to choose where their donation should go, enable the option by checking the box.
-
-
Add personalized designation label text to let your donors know what this step entails, encouraging them to choose a designation. Note that this field is required.
Donor information
-
Donorbox Live ™ Kiosk gives you the option to collect valuable donor data when your supporters make a donation, including their addresses and phone numbers.
-
Collecting donor information is completely optional.
Custom Questions
If you’d like to gain deeper insights into your donors, you have the option to include up to three custom questions that will help you understand your donors better.- To get started, click on “Add a question” on the top-right-hand side of the screen.
- Next, you’ll be given a selection of question types: choose from an open-ended question, multiple choice, or a single checkbox.
- You can also opt to make this field required. If you enable this option, donors will need to answer your question before proceeding.
- You can make specific questions a required field, or mark all as required.
- To update your questions, simply click on the “Edit” button beneath each one to change the question type and text, or to update whether certain questions are required or not.
- To reorder the sequence of questions, simply select and drag each question until you are happy with the order.
Enabling Anonymous Donations
Donorbox Live now offers the option for anonymous donations. This new feature allows donors to contribute to a cause privately and discreetly by choosing not to provide personal information, such as their name and, in some cases, their email address. This also respects the donor's preference not to be contacted, preventing unwanted follow-ups.
To enable this option:
Go to the In-Person Campaigns page
On the left side menu, select Supporter Details
Make sure no required fields have been selected. This option is only available when no supporter fields are marked as required.
Click on “Allow Anonymous Donations”
Save the changes
Once this setting is enabled, donors will see an " I want to donate Anonymously” option during the Name Collection step in the Donorbox Live flow.
During the Name Collection screen, donors can choose to give anonymously. When this option is selected:
- The donor’s name is skipped,
- Email is skipped.
- The donor is taken directly to the “Thank You screen.”